


Stump Grinding Before and After Examples
- Massimo Hagen

- Aug 10
- 5 min read
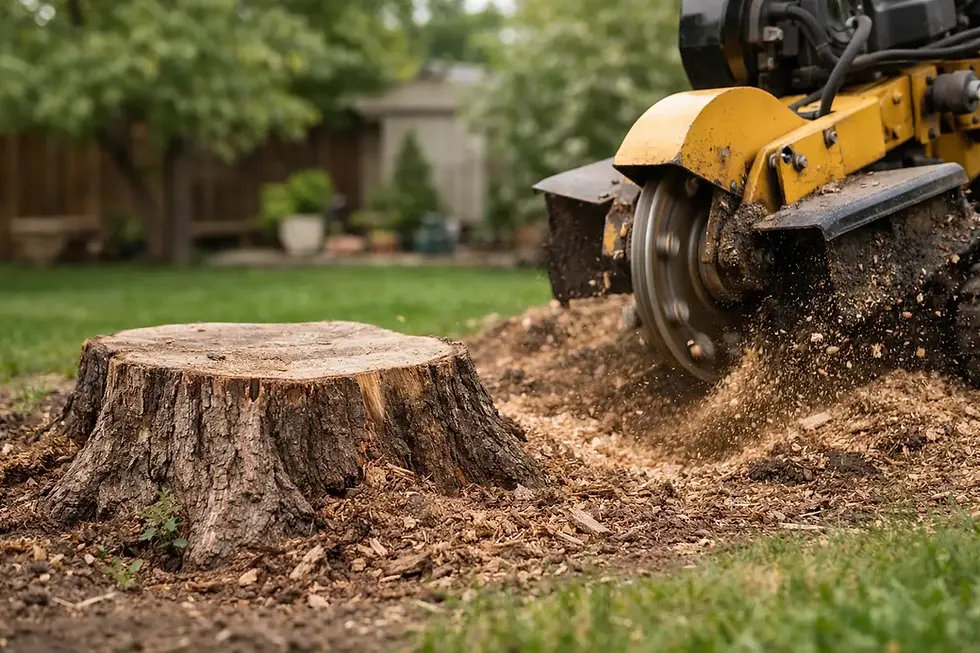
That old stump may look like a minor yard problem until the mower catches it, someone trips over it, or a landscaping project has to work around it. Stump grinding before and after examples make the difference easy to see: what was once a hard, awkward obstacle becomes clean, usable ground that is ready for the next step.
For homeowners, the best results are not just about turning a stump into wood chips. They are about restoring the part of the yard the stump has been taking up for years. A proper grind should leave the area looking noticeably better, with the stump ground below grade and the work area cleaned up so you can move forward with your plans.
What a Good Before-and-After Result Looks Like
Before grinding, a stump can create more than an eyesore. It may sit in the middle of a lawn, along a driveway, beside a patio, or right where you want a garden bed. Roots can make mowing frustrating, and a low stump can be especially easy to miss when kids, guests, or pets are moving through the yard.
After grinding, the visible stump is gone. The ground is typically left below the surrounding soil level, which gives you room to cover the area with topsoil, seed, mulch, or a new planting. The change often feels bigger than homeowners expect because the eye is no longer drawn to the leftover base of a removed tree.
A quality after photo should show more than a pile of chips. Look for a clean grinding area, no tall stump edges, and a finish that fits the surrounding lawn or landscape. The final appearance will vary based on stump size, species, root flare, access, and what you plan to do with the spot afterward.
Example 1: The Stump That Ruined Mowing Day
One of the most common before-and-after situations is a stump in the open lawn. Before removal, homeowners usually mow around it every week, trim around it by hand, and hope nobody twists an ankle stepping near it. It is a small issue that keeps creating work.
After stump grinding, that mowing obstacle is out of the way. Once the grindings are managed and the area is filled and seeded as needed, the lawn can become one continuous space again. This is especially satisfying for stumps left behind after a tree was removed years ago but never fully dealt with.
The trade-off is that fresh grass does not appear overnight. The ground may need topsoil, seed, water, and time to blend back into the lawn. But the hard part - removing the woody stump below the surface - is finished.
Example 2: Making Room for a Garden or Landscape Bed
A stump near the front of a home can hold back a whole curb-appeal project. Before grinding, there may be no clean way to install edging, plant shrubs, spread mulch, or reshape the bed. Trying to landscape around a stump usually makes the area look temporary because, frankly, it is.
After grinding, the location is much more flexible. A homeowner can add soil and create a garden bed, install new plants, extend mulch from an existing bed, or simply return the area to grass. The before-and-after difference is often dramatic because the work replaces a dead tree remnant with an intentional part of the landscape.
If you plan to plant a new tree in the same location, give the new tree some space rather than placing it directly in the old stump hole. Remaining roots, wood chips, and settling soil can make that exact spot less than ideal. A nearby location is often the better choice.
Example 3: Clearing Space for a Fence, Shed, or Patio
Not every stump sits in a convenient place. Some are right along a property line, next to a driveway, or in the path of a new fence or shed. Before grinding, the stump can delay the project, force an awkward layout, or add expense when a contractor has to work around it.
After grinding, the site is much easier to plan. Fence lines can stay straight. A shed pad can be prepared without a stump in the middle of it. A patio or walkway can use the available space as intended.
This is where timing matters. If another contractor is scheduled to start soon, stump grinding should be handled before final grading or construction begins. Let the stump grinding contractor know what is being built and where, since the needed depth and cleanup expectations may be different for a lawn repair than for a hardscape project.
Example 4: Removing a Hidden Trip Hazard
Short stumps can be worse than tall ones. A tall stump is obvious. A weathered stump that sits low in tall grass, leaves, or snow is easy to overlook. In Southern New Hampshire, seasonal yard changes can make an old stump disappear from view until someone finds it the hard way.
Before grinding, the area may look mostly fine from a distance while still being a real hazard up close. Afterward, there is no raised wood to catch a foot, damage mower equipment, or interfere with a wheelbarrow.
Grinding is not a magic fix for every uneven patch of ground. Large roots may still be below the surface, and the area can settle as buried wood breaks down over time. Still, removing the stump itself is the first and most meaningful improvement when safety and access are the concern.
What the Photos Do Not Always Show
Stump grinding before and after examples are helpful, but a photo cannot show every job detail. A stump near a fence, utility line, stone wall, septic area, or tight gate may require a different approach than a stump in the middle of an open backyard. Access affects equipment options, and stump diameter affects the time required.
The wood species matters too. Some stumps have wide root flares or dense wood that create a larger grinding area. Others have decayed enough that they break down quickly. Neither situation is automatically a problem, but it is why a job-specific estimate is more useful than guessing from a general price chart.
Utility safety is another detail that belongs behind the scenes. Before grinding near known or possible underground utilities, the area should be reviewed and appropriate utility marking steps should be completed. A professional service should never treat that part as an afterthought.
How to Get the Best “After” Result
The cleanest-looking finish starts with clear expectations. Tell the stump grinding provider whether you want the chips left for mulch, spread into the hole, moved aside, or removed if that service is available. Let them know whether you are planning lawn repair, a garden bed, a fence, or another project.
It also helps to clear movable items around the stump before the appointment. Patio furniture, toys, decorations, hoses, and loose landscape materials should be out of the work area. If access is through a gate, measure it and mention any tight turns, slopes, or obstacles when requesting a quote.
For most residential jobs, photos are a fast way to start. A clear picture of the stump, a wider picture of its location, and an estimate of its width can help provide a more accurate expectation before anyone arrives. If there are several stumps, include all of them rather than focusing only on the largest one.
Level Ground Stump Grinding focuses on this one job because the finish matters. The goal is simple: grind the stump down, leave the area visibly improved, and help homeowners reclaim their yards without dragging out the process.
A stump does not have to stay in the way just because the tree is gone. Whether it is blocking your mower, your garden plan, or the view from the street, the right before-and-after result leaves you with something more useful than a chip pile: room to make the yard your own again.


Comments